|
Once you have the sound file containing all of your stimuli, you'll need to segment it into smaller, individual files for each stimulus. You can do this using the free acoustic analysis software Praat, available at praat.org. Once you open Praat, you'll see that both a "Praat Objects" window and a "Praat Picture" window appear at start up. You won't be using the Praat picture window, so you can close that. Before we begin cutting a sound file, let's just see what sounds look like in Praat. In the top menu, go to "Open" --> "Read from file" and choose your sound file. It should now appear highlighted in the Objects window. Click on "View & Edit" on the right-hand menu to see your sound file: 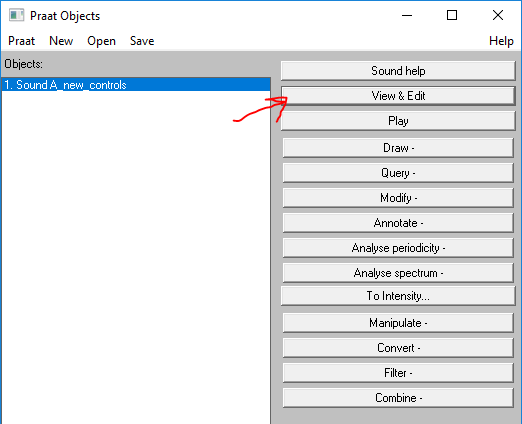 Your sound file will look something like this: 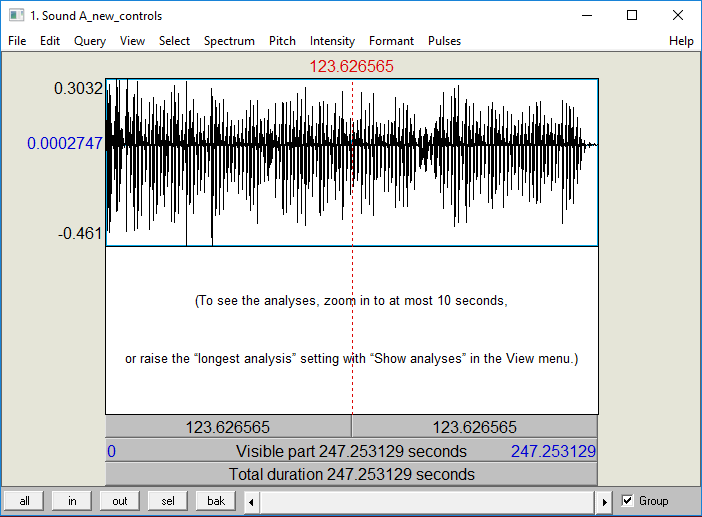 What you'll notice is that it is zoomed out all the way in order to fit the entire file. If you want to zoom in to see individual words, you'll need to use the controls at the bottom left of the window. The "in" button zooms in around wherever your cursor is, in this case the middle of the sound file. The "sel" button zooms in to a selection. You can drag your cursor across the sound to highlight a region, then press "sel". 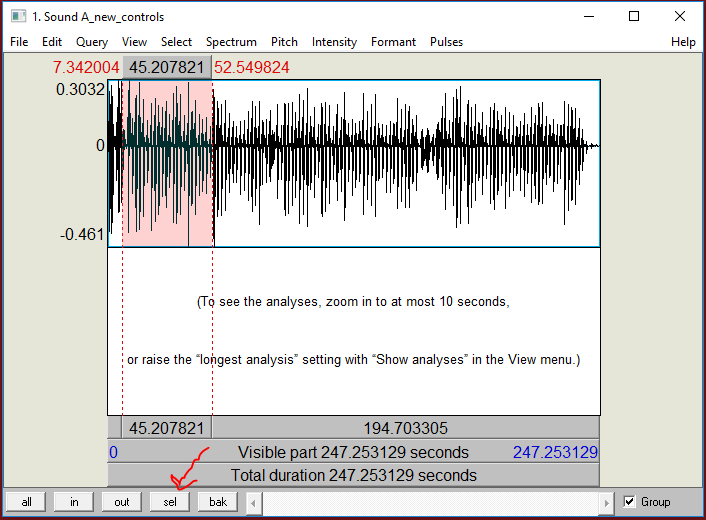 You may have to zoom in a few times in order to get to individual words. Once you do, you'll see something like this: 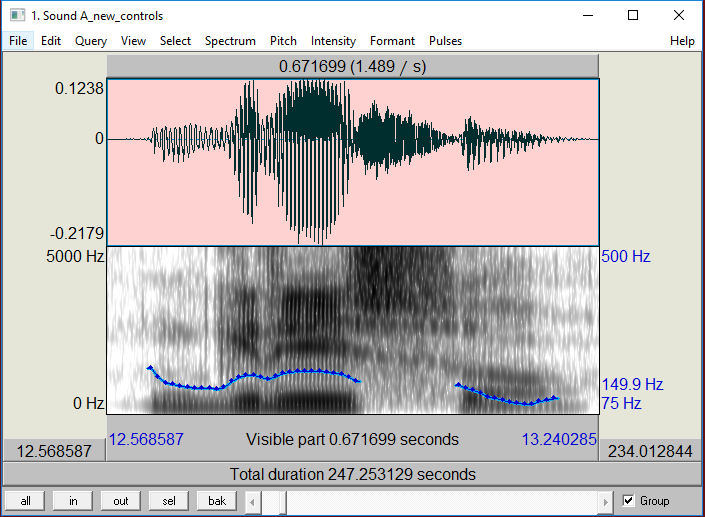 Now you can see two different representations of the sound. The top shows the sound wave ("waveform") and the bottom shows the energy at different frequencies ("spectrogram"). The darker the spectrogram is, the more energy there is at that frequency. The blue line is pitch, which you can toggle off and on through the "Pitch" menu at the top. You can also toggle on and off other analysis tools, like formant tracking and glottal pulses, but you won't need to worry about those for cutting sound files. If you want to listen to just the part you zoomed in to, click on the bottom bar labeled "Visible part" or press Tab on the keyboard to play the selection. If you click on the bar labeled "Total duration", it will play the entire sound file. You can stop a sound file from playing by pressing Esc on the keyboard. Now that you're familiar with basic controls for Praat, follow the instructions in the attached pdf prepared by my colleague Ryan Lidster. It explains how to mark individual stimuli with intervals in a TextGrid and then pull out those words as individual sound files (using a PC, I'm not sure how well everything correlates to a Mac).
Here is a summary of the steps you'll need to take:
1. For each stimulus, highlight close to where the sound file begins and ends, about 30-50 ms before and after, though it doesn't need to be exact. In general, you don't want the amount of silence before and after your stimuli to vary greatly, because this will affect your interstimulus interval (ISI) later. [Note: If you're doing an experiment that requires exact timing of the stimuli, like priming or eyetracking, you will need to be more precise in your cutting, especially at the beginning of the stimulus. One possible thing you could do is put your left boundary exactly at the start of the word, then use the Praat script "move_left_boundary_left_ for_labeled_intervals_&_zero_cross.praat" to change the left boundary to, for example, exactly 30 ms before the start of the stimulus. The script will also zero cross both boundaries.] 2. Before you hit enter to make the boundaries, hit Ctrl + comma and Ctrl + period (or Command + comma and Command + period with a Mac) to make sure the boundaries are at zero crossings (i.e. the where the sound wave at the top crosses over zero) so you don't get clicking noises (if you've already hit enter, you can move the boundaries to the nearest zero crossing by going to "boundary" in the top menu). 3. You should have a spreadsheet in which you've prepared the file names for each stimulus. Depending on the type of experiment, it can get confusing to name your files as simply the (non)word that they are, because then you won't have information about the condition or contrast they're being used in, which could make analyses more difficult. Instead, it's often useful to label your files something like condition_sound_speaker. For example, in our study on Finnish length perception, we labeled our files like "ata1.L", meaning the /ata/ context, with the first length template (i.e. all short segments; we had a code for each template, such as "2" for the first vowel was long, "3" for the first consonant was long, etc.), and "L" for the speaker. [Edit 4/26/22: I recommend using underscores instead of periods in your file names. It turns out some Praat scripts don't play well with periods.] Whatever you choose, make sure it's laid out very clearly somewhere. 4. I find it useful to highlight my stimuli in this spreadsheet as I go along putting the labels in the TextGrid. I use green for a good token, yellow for a somewhat questionable token, and red if there was something wrong with it and I didn't even mark that word. It's always a good idea to keep track of your progress and take note of any problems you encounter. 4. Save your TextGrid often because Praat may crash. While you're working in the sound file, go to "File" in the top menu --> "Save TextGrid as text file". 5. Once all the labels are in, run the script "save_labeled_intervals_to_wav_sound_files.praat" by going to the Praat Objects window --> "Praat" on the top menu --> "Open Praat Script" (if you're using a Mac, go to "Open"-->"Read from file"). Make sure the sound file is open as a long sound file ("Open" --> "Open long sound file") and the TextGrid is also highlighted. If you access the script from my website, it will open in the .txt format in the browser instead of downloading as .praat. You can copy the text of the script, then go to the Praat Objects window --> "Praat" --> "New Praat Script", and paste it in. 6. When you run the script ("Run" in the top menu in the open script --> "Run"), don't forget to put in the folder where you want all the sound files to go (including a backwards [PC] or forwards [Mac] slash at the end of the file path). At this point you can add a prefix or a suffix to all your files, such as labeling them with the speaker. You should now have sound files to use in your experiment!
0 Comments
Leave a Reply. |
AuthorI like sounds. Here I'll teach you how to play with them and force other people to listen to them. For science. Archives
August 2023
Categories |
||
 RSS Feed